Prepare to Connect User Wallets
Preparation
In the blockchain world, Web3 wallets are essential. They let you log into apps and interact with the blockchain. You can also sign and execute transactions safely.
Get Started with Connection Libraries
- Why Use Them? These libraries make the process easier.
- First Step: Start by adding @rainbow-me/rainbowkit. Just run:
npm install @rainbow-me/rainbowkitConnecting Your Wallet to dApps
- Why WalletConnect? It's a go-to standard for linking your wallet to dApps.
- Your Action Item: Register on walletconnect.com and get your unique Project ID. This ID is a must, no matter which library you use.
Go to walletconnect.com and get own projectId (opens in a new tab)
Remember, connecting your wallet to dApps is crucial for secure and efficient interactions in the blockchain space. Keep it straightforward and you'll be set to go! 🌟
Setup
Web3 connect configs
The first thing you need to do is set up WagmiConfig provider and wrap your whole App.
Here we'll set up working chains and connecting lib.
Let's create new component src/components/Providers.tsx and add required imports and config for wagmi:
'use client'
import React from 'react'
import { RainbowKitProvider, getDefaultWallets, getDefaultConfig } from '@rainbow-me/rainbowkit'
import { WagmiProvider } from 'wagmi'
import { QueryClient, QueryClientProvider } from '@tanstack/react-query'
import { polygonAmoy, gnosis } from 'viem/chains'


const { wallets } = getDefaultWallets()

const chains = [
  polygonAmoy,
  gnosis,
] as const

const wagmiConfig = getDefaultConfig({
  appName: 'Azuro',
  projectId: '2f82a1608c73932cfc64ff51aa38a87b', // get your own project ID - https://cloud.walletconnect.com/sign-in
  wallets,
  chains,
})

const queryClient = new QueryClient()

export function Providers(props: { children: React.ReactNode }) {
  const { children } = props

  return (
    <WagmiProvider config={wagmiConfig}>
      <QueryClientProvider client={queryClient}>
        <RainbowKitProvider chains={chains}>
          {children}
        </RainbowKitProvider>
      </QueryClientProvider>
    </WagmiProvider>
  )
}
Great. Now your app can handle web3 connections. We’ll see how to add a “Connect” button later.
Azuro providers setup
After base web3 connect setup, let's add azuro SDK provider.
Let's add them, so final code of Providers component will be:
'use client'
import React from 'react'
import { AzuroSDKProvider, ChainId } from '@azuro-org/sdk'
import { RainbowKitProvider, getDefaultWallets, getDefaultConfig } from '@rainbow-me/rainbowkit'
import { WagmiProvider } from 'wagmi'
import { QueryClient, QueryClientProvider } from '@tanstack/react-query'
import { polygonAmoy, gnosis } from 'viem/chains'


const { wallets } = getDefaultWallets()

const chains = [
  polygonAmoy,
  gnosis,
] as const

const wagmiConfig = getDefaultConfig({
  appName: 'Azuro',
  projectId: '2f82a1608c73932cfc64ff51aa38a87b', // get your own project ID - https://cloud.walletconnect.com/sign-in
  wallets,
  chains,
})

const queryClient = new QueryClient()

type ProvidersProps = {
  children: React.ReactNode
  initialChainId?: string
  initialLiveState?: boolean
}

export function Providers(props: ProvidersProps) {
  const { children, initialChainId, initialLiveState } = props

  const chainId = initialChainId && (
    chains.find(chain => chain.id === +initialChainId) ? +initialChainId as ChainId : polygonAmoy.id
  )

  return (
    <WagmiProvider config={wagmiConfig}>
      <QueryClientProvider client={queryClient}>
        <RainbowKitProvider chains={chains}>
          <AzuroSDKProvider initialChainId={chainId} initialLiveState={initialLiveState}>
            {children}
          </AzuroSDKProvider>
        </RainbowKitProvider>
      </QueryClientProvider>
    </WagmiProvider>
  )
}
Use Providers in global layout
Now our Providers component is ready to be used in the app. Let's do it.
To make things easier, let's create index.ts file in src/components and re-export component (later do it with all the components we create):
export * from './Providers'
Now, edit file src/app/layout.tsx:
- add rainbowkit css
import '@rainbow-me/rainbowkit/styles.css' - get stored values for
initialChainIdandinitialLiveStatefrom cookies - add created
Providerscomponent and provide initial values
So code will be:
import type { Metadata } from 'next'
import { Inter } from 'next/font/google'
import './globals.css'
import '@rainbow-me/rainbowkit/styles.css'
import { Providers } from '@/components'
import { cookies } from 'next/headers'

const inter = Inter({ subsets: ['latin'] })

export const metadata: Metadata = {
  title: 'Azuro Betting App',
}

export default function RootLayout({
  children,
}: {
  children: React.ReactNode
}) {
  const cookieStore = cookies()

  const initialChainId = cookieStore.get('appChainId')?.value
  const initialLiveState = JSON.parse(cookieStore.get('live')?.value || 'false')

  return (
    <html lang="en">
      <body className={inter.className}>
        <Providers initialChainId={initialChainId} initialLiveState={initialLiveState}>
          <div className="md:max-w-[1040px] mx-auto">
            <main className="container pt-5 pb-10">
              {children}
            </main>
          </div>
        </Providers>
      </body>
    </html>
  )
}
Page Layout
Let's add a header with top-level navigation, "Connect" button and auto-reconnect (to keep connection after page reload).
Create component src/components/Header.tsx:
'use client'
import React, { useEffect } from 'react'
import { ConnectButton } from '@rainbow-me/rainbowkit'
import { ActiveLink } from '@/components'
import { reconnect } from '@wagmi/core'
import { useConfig } from 'wagmi'

export function Header() {
  const config = useConfig()

  useEffect(() => {
    ;(async () => {
      try {
        await reconnect(config)
      }
      catch {}
    })()
  }, [])

  return (
    <header className="flex items-center py-3.5 border-b border-zinc-200">
      <div className="text-xl font-semibold">Azuro Betting</div>
      <div className="flex ml-10">
        <ActiveLink
          className="text-zinc-500 hover:text-black transition"
          activeClassName="!text-black font-semibold !cursor-default"
          href="/events/top"
          regex="^\/events\/[^/]+?$"
        >
          Events
        </ActiveLink>
        <ActiveLink
          className="text-zinc-500 hover:text-black transition ml-4"
          activeClassName="!text-black font-semibold !cursor-default"
          href="/bets"
          regex="^\/bets"
        >
          Bets
        </ActiveLink>
      </div>
      <div className="ml-auto flex items-center">
        <ConnectButton chainStatus="none" />
      </div>
    </header>
  )
}
Add export to src/components/index.ts
export * from './Providers'
export * from './Header'
And use in global layout - src/app/layout.tsx:
import type { Metadata } from 'next'
import { Inter } from 'next/font/google'
import './globals.css'
import '@rainbow-me/rainbowkit/styles.css'
import { Providers, Header } from '@/components'
import { cookies } from 'next/headers'

const inter = Inter({ subsets: ['latin'] })

export const metadata: Metadata = {
  title: 'Azuro Betting App',
}

export default function RootLayout({
  children,
}: {
  children: React.ReactNode
}) {
  const cookieStore = cookies()

  const initialChainId = cookieStore.get('appChainId')?.value
  const initialLiveState = JSON.parse(cookieStore.get('live')?.value || 'false')

  return (
    <html lang="en">
      <body className={inter.className}>
        <Providers initialChainId={initialChainId} initialLiveState={initialLiveState}>
          <div className="md:max-w-[1040px] mx-auto">
            <Header />
            <main className="container pt-5 pb-10">
              {children}
            </main>
          </div>
        </Providers>
      </body>
    </html>
  )
}
Great! Run the following command
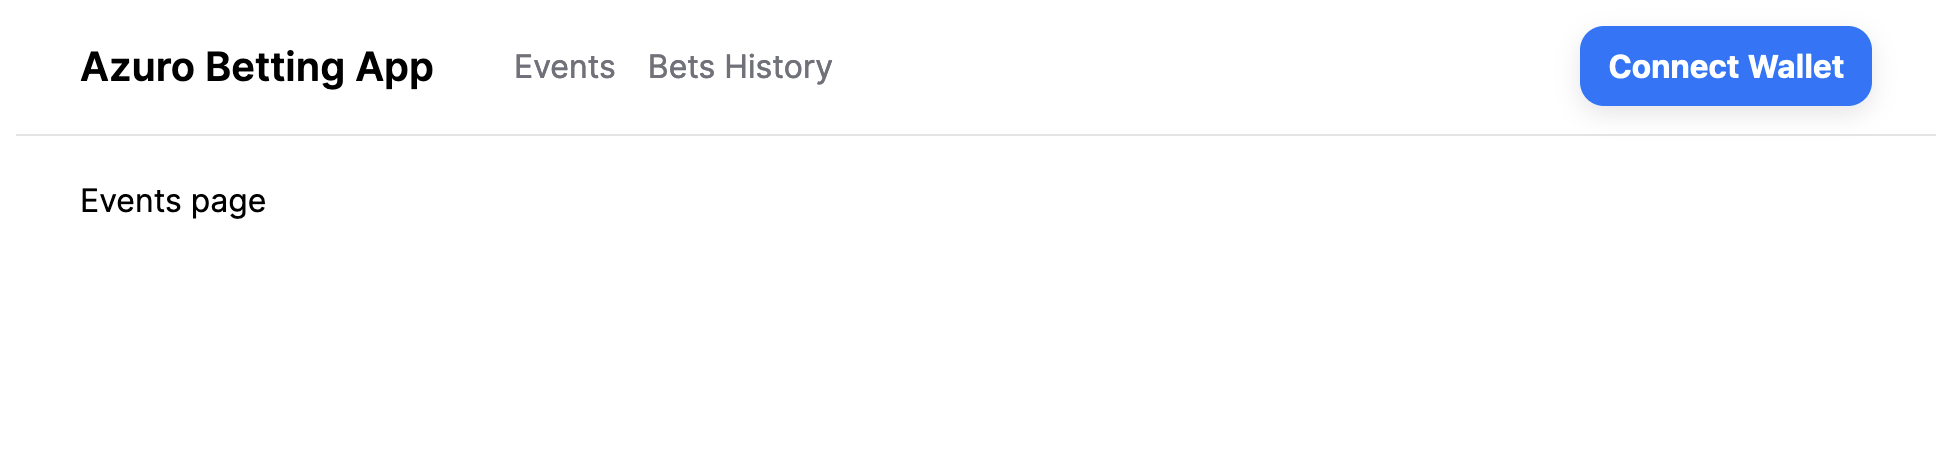
npm run devThis starts your Next.js app’s "development server" on port 3000. Let’s check to see if it’s working. And visit localhost:3000 (opens in a new tab) and ensure that the Connect Button is present and functioning properly.
Learn more
In this tutorial, we're crafting a simple betting app. Are you eager to explore more? Then delve deeper into some key elements of the SDK used in this section:
- AzuroSDKProvider: Understand its role in the app.